Self-Watering Containers for Balcony Plants
Discover how self-watering containers work, which plants benefit most, and how to set them up for reliable balcony watering.
Self-Watering Containers for Balcony Plants
Self-watering containers can be a game changer on a balcony. They help plants stay evenly moist, reduce the number of times you have to drag out the watering can, and make it easier to keep summer crops happy when heat and wind dry containers out fast. But they are not magic boxes. To get good results, you need to understand how they work, which plants benefit most, and how to set them up so the reservoir actually supports healthy roots instead of creating soggy problems.
This guide walks through the basics in plain language, with practical setup and maintenance tips you can use whether you are growing herbs, leafy greens, or thirsty fruiting plants in a compact outdoor space.
Self-watering containers are best thought of as moisture-management tools, not set-and-forget systems. They still need the right soil mix, regular checking, and occasional cleaning. :::
How self-watering containers work
A self-watering container usually has two main zones:
- A reservoir at the bottom that holds water.
- A growing chamber above it where roots live.
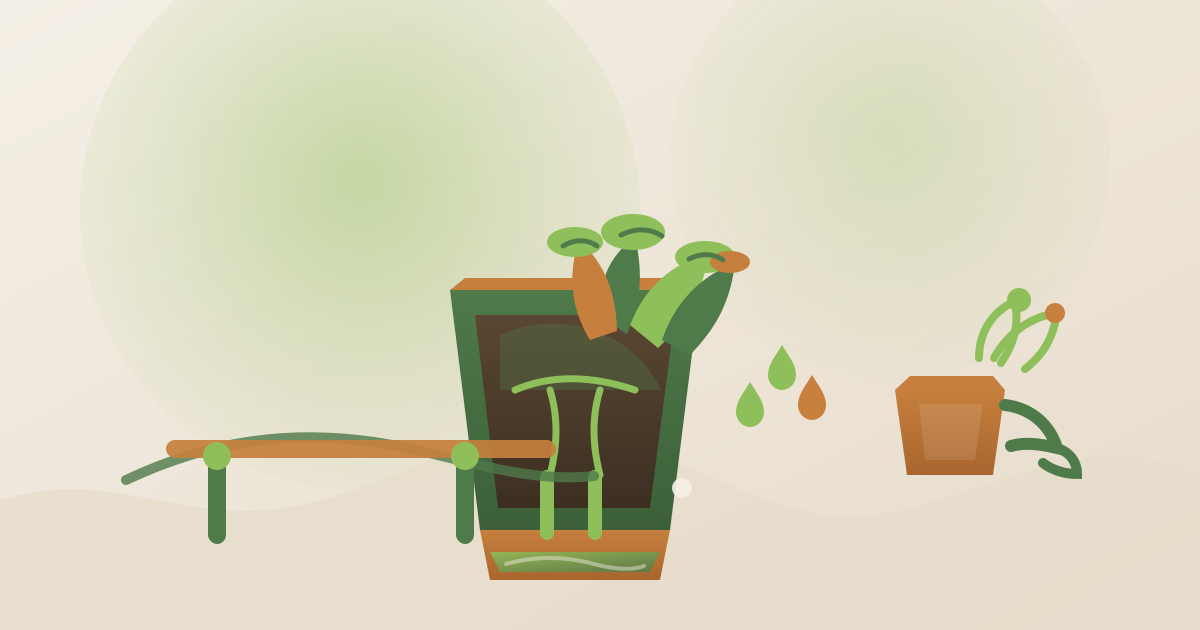
Water moves upward from the reservoir into the soil through a wick, holes, or direct capillary contact. The soil pulls moisture toward drier areas, so the root zone stays more consistent than in a standard pot that dries from the top down.
That steady moisture delivery is the big advantage. Instead of watering, waiting, and then dealing with extreme dry-down, the plant can draw what it needs over time. On a windy balcony where pots dry out quickly, this can make a noticeable difference in growth and fruiting.
A simple way to picture it:
The key is balance. The reservoir should keep the root zone evenly moist, but the upper part of the mix still needs air. If the whole pot stays saturated, roots lose oxygen and problems can follow.
Pro Tip: Use a light, airy potting mix designed for containers. Dense garden soil can block the wicking action and create waterlogged roots.
Best plants for self-watering containers
Self-watering containers shine with plants that like consistent moisture, especially during hot weather or fast growth periods.
Great matches include:
- Herbs like basil, parsley, cilantro, and mint
- Leafy greens like lettuce, arugula, spinach, and baby kale
- Peppers that benefit from steady moisture during flowering and fruiting
- Tomatoes in appropriately sized containers
- Summer vegetables such as bush beans or cucumbers in larger systems
- Thirsty annual flowers that wilt quickly in heat
These plants often suffer when moisture swings wildly from very dry to very wet. Self-watering containers smooth out those swings and can reduce stress-related issues like blossom drop, bitter greens, or stunted growth.
Less ideal plants
Some plants prefer drier conditions and may not love a constantly moist root zone. Examples include:
- Mediterranean herbs like rosemary and thyme, if kept in a very wet system
- Succulents and cacti
- Plants that are sensitive to root rot and do better with deliberate dry-down periods
That does not mean you can never grow them in a self-watering setup, but it does mean you need to be more careful with the mix and watering frequency.
| Plant Type | Works Well? | Why |
|---|---|---|
| Basil, lettuce, parsley | Yes | Likes even moisture and responds quickly to steady watering |
| Tomatoes, peppers | Yes, in large containers | Fruit production improves when moisture is consistent |
| Mint | Yes | Vigorous growth benefits from reliable water |
| Rosemary, thyme | Sometimes | Can get stressed if the reservoir stays too wet |
| Succulents | No | Prefer drying out between waterings |
Choosing the right container
Not every self-watering container is equally useful on a balcony. The best choice depends on your plant, your space, and how much weight your balcony can comfortably handle.
What to look for
- Adequate size: Small reservoirs empty quickly. Larger plants need larger water capacity.
- Reservoir depth: A deeper reservoir can extend refill intervals, but it also adds weight when full.
- Strong materials: UV-resistant plastic or sturdy composite materials tend to hold up well outdoors.
- Drainage overflow: Overflow holes are essential. They prevent the reservoir from flooding the root zone during heavy rain or overfilling.
- Stable shape: Narrow, top-heavy planters can be awkward in wind or on small balconies.
For a balcony, a slightly larger container is often better than a tiny one. Small pots dry fast, heat up fast, and often need more maintenance than they save.
Watch Out: A full reservoir adds weight. Before buying several large planters, think about balcony load limits, especially if you plan to place them on a raised deck, ledge, or older structure.
Comparing common container styles
| Container Style | Benefit | Best For |
|---|---|---|
| Basic self-watering pot | Simple, compact, easy to find | Herbs and salad greens |
| Long balcony planter with reservoir | Efficient use of railing or floor space | Mixed greens, flowers, shallow-rooted crops |
| Large self-watering tub | Bigger water reserve, more root space | Tomatoes, peppers, bush crops |
| DIY converted container | Flexible and budget-friendly | Experienced gardeners who want custom sizing |
Setup steps for reliable watering
A good setup matters almost as much as the container itself. If the mix is too dry, too compact, or assembled incorrectly, the wicking action may never work properly.
Step 1: Choose a quality mix
Use a container potting mix that is light and well-aerated. A good mix should hold moisture without turning dense. Many gardeners improve store-bought mix with a little extra perlite or coco coir, depending on climate and crop.
Step 2: Pre-moisten the soil
Before filling the container, lightly moisten the mix in a bucket or tub. You want it damp like a wrung-out sponge, not dripping wet. This helps the soil begin wicking water immediately.
Step 3: Assemble the reservoir and wicking system
Follow the manufacturer instructions carefully. Make sure any wick, fill tube, or internal divider is seated properly. If the system uses a false bottom or air gap, check that it is aligned.
Step 4: Fill the growing chamber
Add the potting mix in layers, gently settling it without compacting it hard. Overpacking reduces airflow and slows down water movement.
Step 5: Plant seedlings or transplants correctly
Set seedlings at the same depth they were growing before. If you are planting seeds directly, keep the top layer evenly moist until germination. Once roots develop, they will begin using the reservoir more effectively.
Step 6: Water from the top at first
Even though the container is self-watering, the initial watering often needs to be from above. This helps settle the soil and encourages roots to grow downward toward the moist zone.
In the first week or two, many self-watering systems perform best with a little top watering along with reservoir filling. After roots establish, the container becomes much more efficient. :::
Maintenance routine
Self-watering containers reduce watering frequency, but they still need a routine.
Refill timing
How often you refill depends on:
- container size
- plant size
- sun exposure
- wind
- temperature
- crop type
In peak summer, a small container may need refilling every day or two. Larger systems may last several days longer. The best habit is to check the water level regularly rather than waiting for the plant to wilt.
Fertilizer choices
Because water moves steadily through the root zone, nutrients can leach gradually. Many balcony gardeners use a balanced liquid fertilizer at a diluted rate, or a controlled-release granular fertilizer mixed into the potting soil.
For heavy feeders like tomatoes, peppers, or large leafy greens, the feeding plan matters a lot. A healthy reservoir cannot replace nutrients.
Salt buildup and flushing
Over time, fertilizer salts and minerals can accumulate in the container. This is especially likely if you use liquid fertilizer often or have hard water. To prevent buildup:
- flush the soil periodically from the top until water runs freely out the overflow
- avoid overfertilizing
- use clean water when possible
Cleaning the system
At the end of a season, take the container apart if you can. Remove old roots, rinse the reservoir, and clear any mineral deposits. A clean system works better the next time and lowers the chance of pests or disease lingering in the container.
Troubleshooting common problems
Even a good self-watering setup can run into issues. The good news is that most problems are fixable once you know what to look for.
Problem: overfilling the reservoir
If the reservoir is too full for too long, the root zone may stay overly wet. Signs include:
- yellowing lower leaves
- slow growth
- sour-smelling soil
- mushy roots
Fix it by letting the reservoir drain down and making sure overflow holes are clear.
Problem: poor wicking
Sometimes water does not move upward well. Possible reasons include:
- soil too dry at startup
- mix too dense
- wick improperly installed
- roots not yet reaching the moist zone
If this happens, top-water thoroughly once or twice to reestablish moisture movement and check the soil texture.
Problem: root rot
Root rot happens when roots stay too wet and lack oxygen. It can be caused by:
- oversaturated mix
- no overflow
- poor drainage design
- too-frequent refilling in cool weather
If you suspect root rot, stop refilling, inspect the roots if possible, and let the top layer dry slightly before watering again.
Problem: dry top layer
A dry top does not always mean the container is failing. In many self-watering systems, the surface dries while the lower root zone stays moist. That is normal.
But if the whole pot seems dry, check the reservoir level and the wick. If needed, give the container a thorough top watering to reset moisture throughout the mix.
Watch Out: Do not assume a dry-looking surface means the plant needs water immediately. Always check the reservoir and a few inches below the surface before adding more.
When self-watering containers are worth it on a balcony
Self-watering containers are especially worth considering if your balcony gets:
- strong afternoon sun
- drying wind
- irregular access for daily watering
- a mix of thirsty crops that need steady moisture
- busy weeks when you might forget to water on time
They are also helpful if you want a more forgiving setup for beginners. The reservoir creates a buffer that can make the difference between stressed plants and a steady harvest.
That said, they are not the best choice for every plant or every gardener. If you grow only drought-tolerant herbs, prefer very dry conditions, or enjoy hand-watering every day, a simple pot may be enough. The main advantage of self-watering containers is consistency.
A simple decision checklist
Before buying, ask yourself:
- Do my plants like even moisture?
- Is my balcony hot, windy, or hard to water daily?
- Is the container large enough for the crop?
- Does it have an overflow outlet?
- Am I using a light, container-friendly mix?
- Can I still check the reservoir and clean the system?
If you can answer yes to most of those, self-watering containers are likely a solid fit.
Final thoughts
Self-watering containers can make balcony gardening easier, cleaner, and more productive, especially for crops that dislike drying out between waterings. The system works best when you pair it with the right potting mix, the right crops, and a little regular maintenance.
Think of the reservoir as a helpful assistant, not a replacement for care. With a good setup, you can spend less time worrying about daily watering and more time enjoying steady growth, healthier foliage, and better harvests.
If your balcony makes hand-watering a challenge, self-watering containers may be one of the simplest upgrades you can make.